
 in my third post about my project Stay on the Track I want to tell you something about the different development stages I have passed with this map.
 After I got a decent story for the map everything was ready to go ahead and plan the layout of the map.
I started with a top down view of the map to get an overview of the map. Such a sketch will help you later to get faster results. If you don't have a clear overview where to place everything what you want in your map, you will fast get stuck with things.

And also don't get stuck on details in the top down view, it is just to get an overview of the map. Not to show the mood or something. You just have to draw the contours of the stuff in your map like on a street map or so.
After I had finished the top down view, I have started to search for reference pictures of the buildings and assets I wanted to have on the map. For this I can really recommend, Deviant Art, Flickr and of course the google image search. Just be creative, it gives a lot of great websites on the Internet to get some useful references.
If you have enough reference images of the stuff that you want to create, you can first make some sketches of it. That is useful if you want to combine parts of different images, or if you are still not sure how things should look like. But if you think you can build your stuff directly from the references, try so, but I personally made the experience that its worth to invest time to create sketches.
After I got all my references collected and a few sketches made, it was time to start on the map itself.

I started with a blockout of the map. A blockout is useful to get an overview about the dimensions of the map. If you don't like some parts of the map, it is easier to change the size or position of a block instead of a whole detailed building that you have already created. A blockout is also sometimes called greybox, so just basic shapes without textures or details.


After I had finished the blockout of the map I started to add some details to the buildings, but not to the environment.


Once I had the details on the buildings done, I started adding some ambient lights to the map. At this stage you should already be able to get an overview about the look and feel of the map.


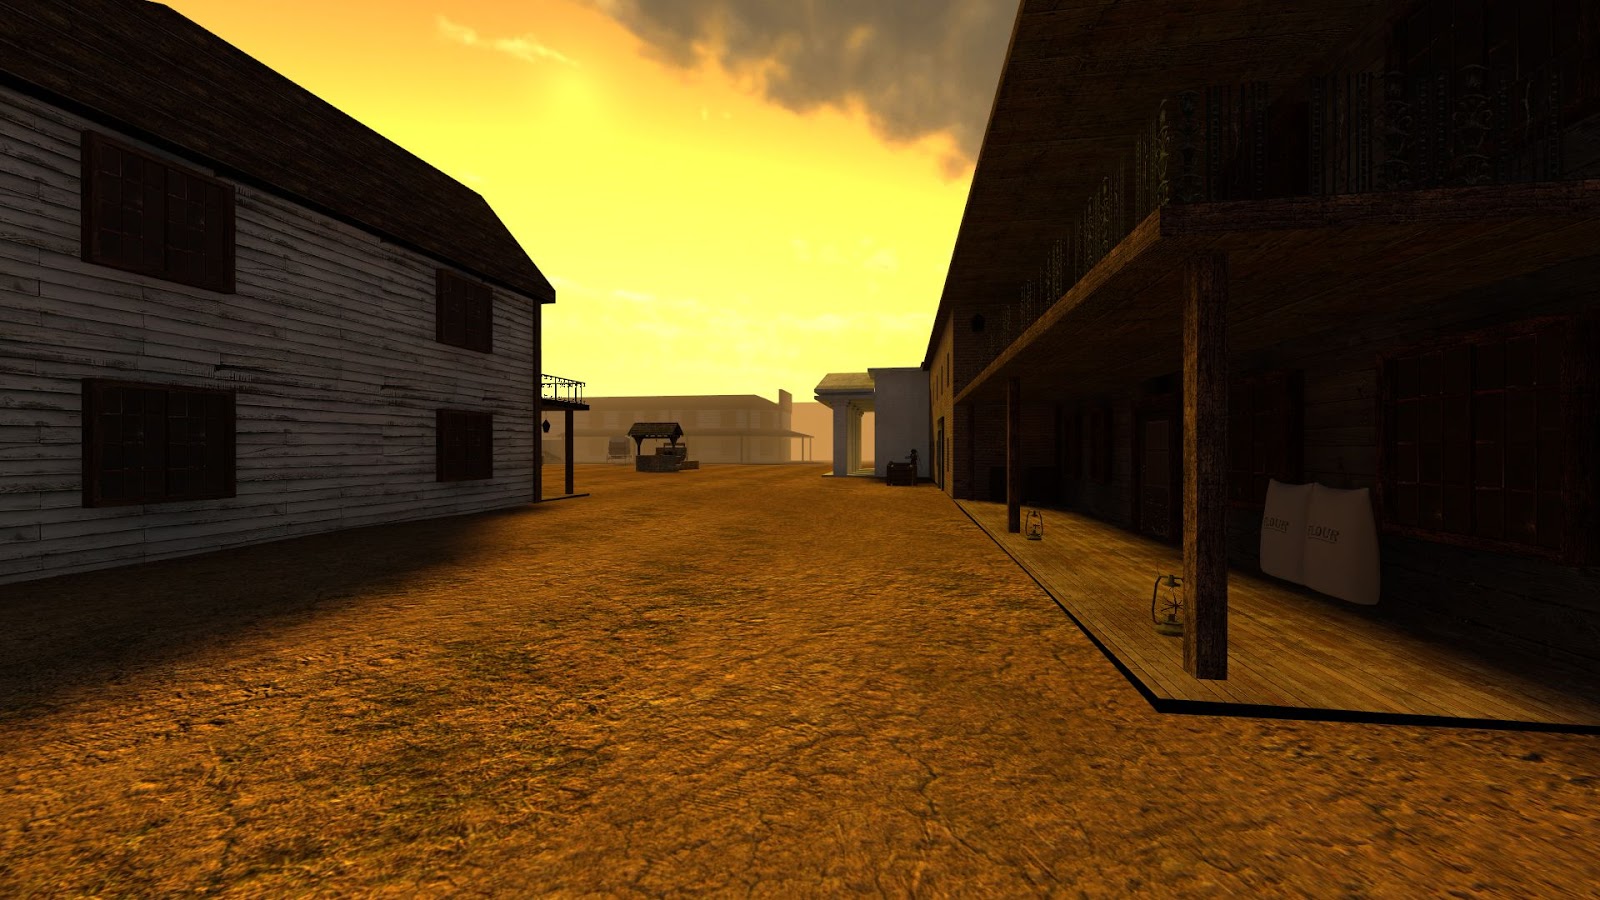


The last but also one of the most important parts was to add more details to the map. Add some props, correct the lighting, and to correct some other little cosmetic things like detail sprites. But the results of this I will show you in my next post.
I hope this little post was useful in an informative or inspiring kind or at least useful in some way ;)
In the next and last part of this series I will show you some screenshots and a video of the final map.
So stay tuned.
No comments:
Post a Comment